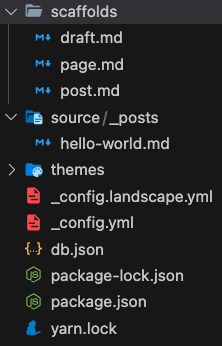
1. 确认已安装hexo
安装完的目录应该如下图
2. clone next 主题到本地
1
| git clone https://github.com/theme-next/hexo-theme-next.git themes/next
|
在此注意:这里的地址是最新的,网上很多的教程的地址都是老的 next 地址
3. 安装依赖
4. 配置 hexo 主题
在 _config.yml 中配置 hexo 主题
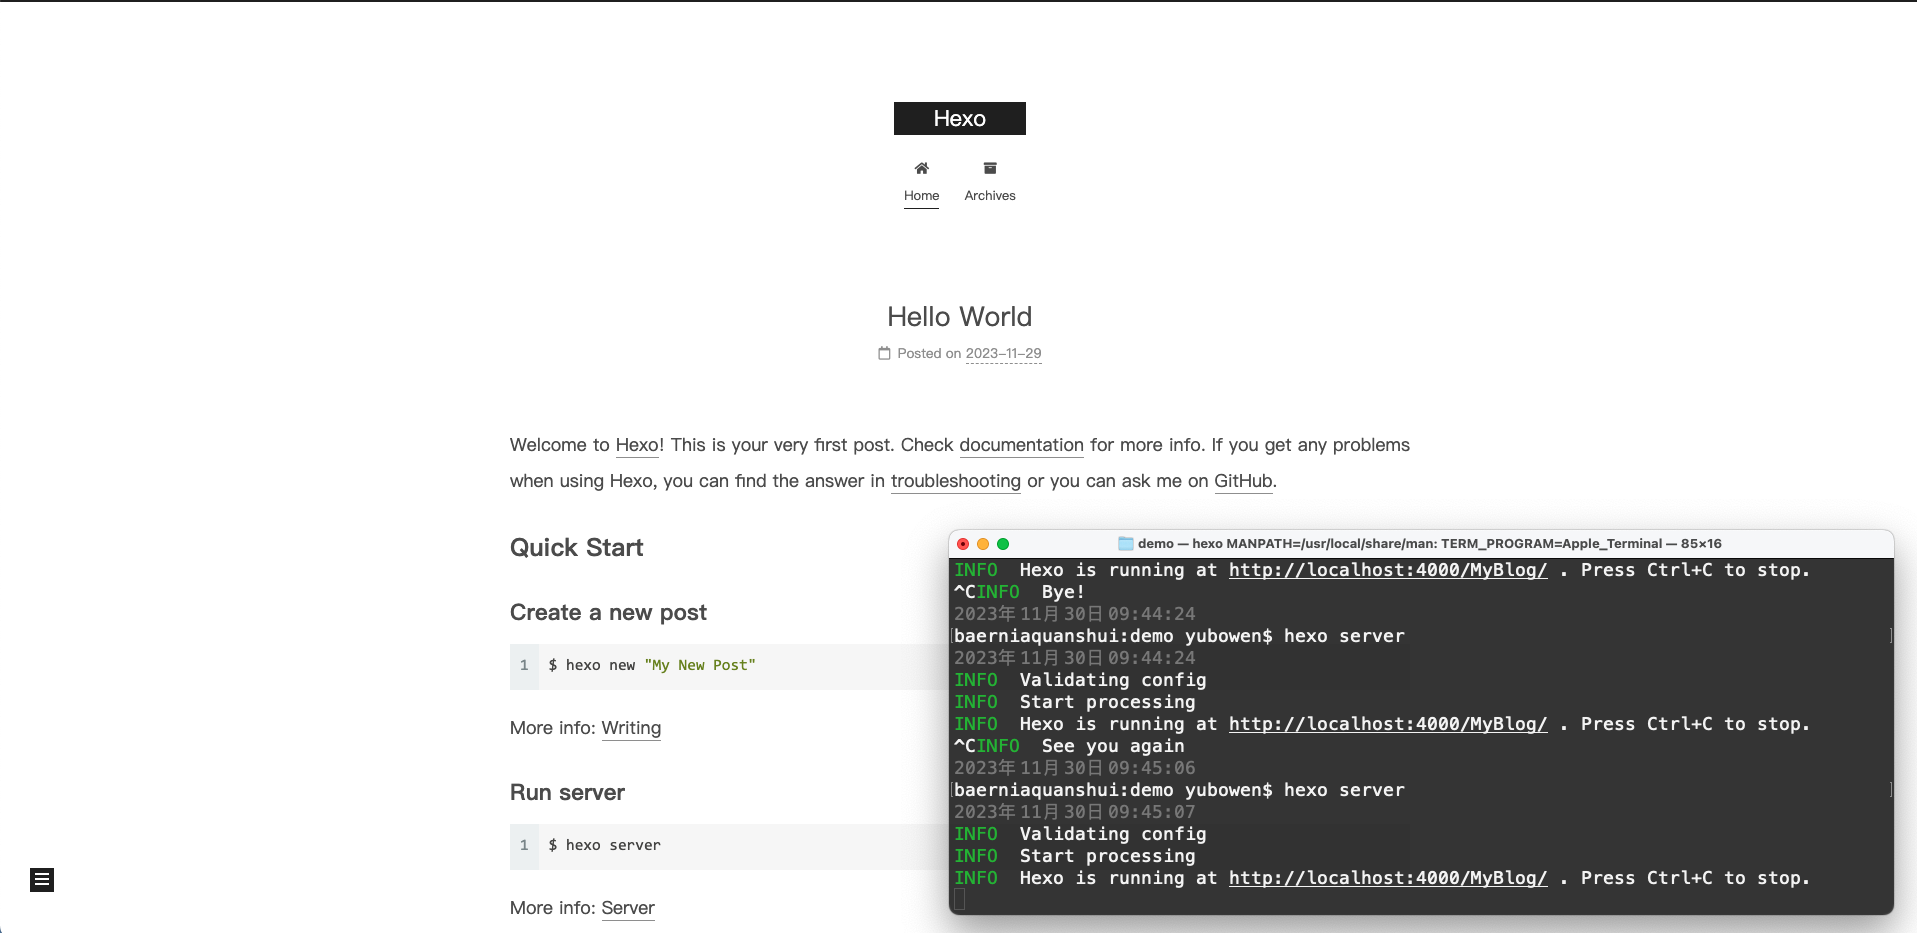
至此,可以 hexo server 来查看效果如下图
5. 配置 canvas_nest 效果
1
2
3
4
5
6
|
{% if theme.canvas_nest %}
<script type="text/javascript" src="//cdn.bootcss.com/canvas-nest.js/1.0.0/canvas-nest.min.js"></script>
{% endif %}
|
1
2
3
4
|
canvas_nest:
enable: true
|
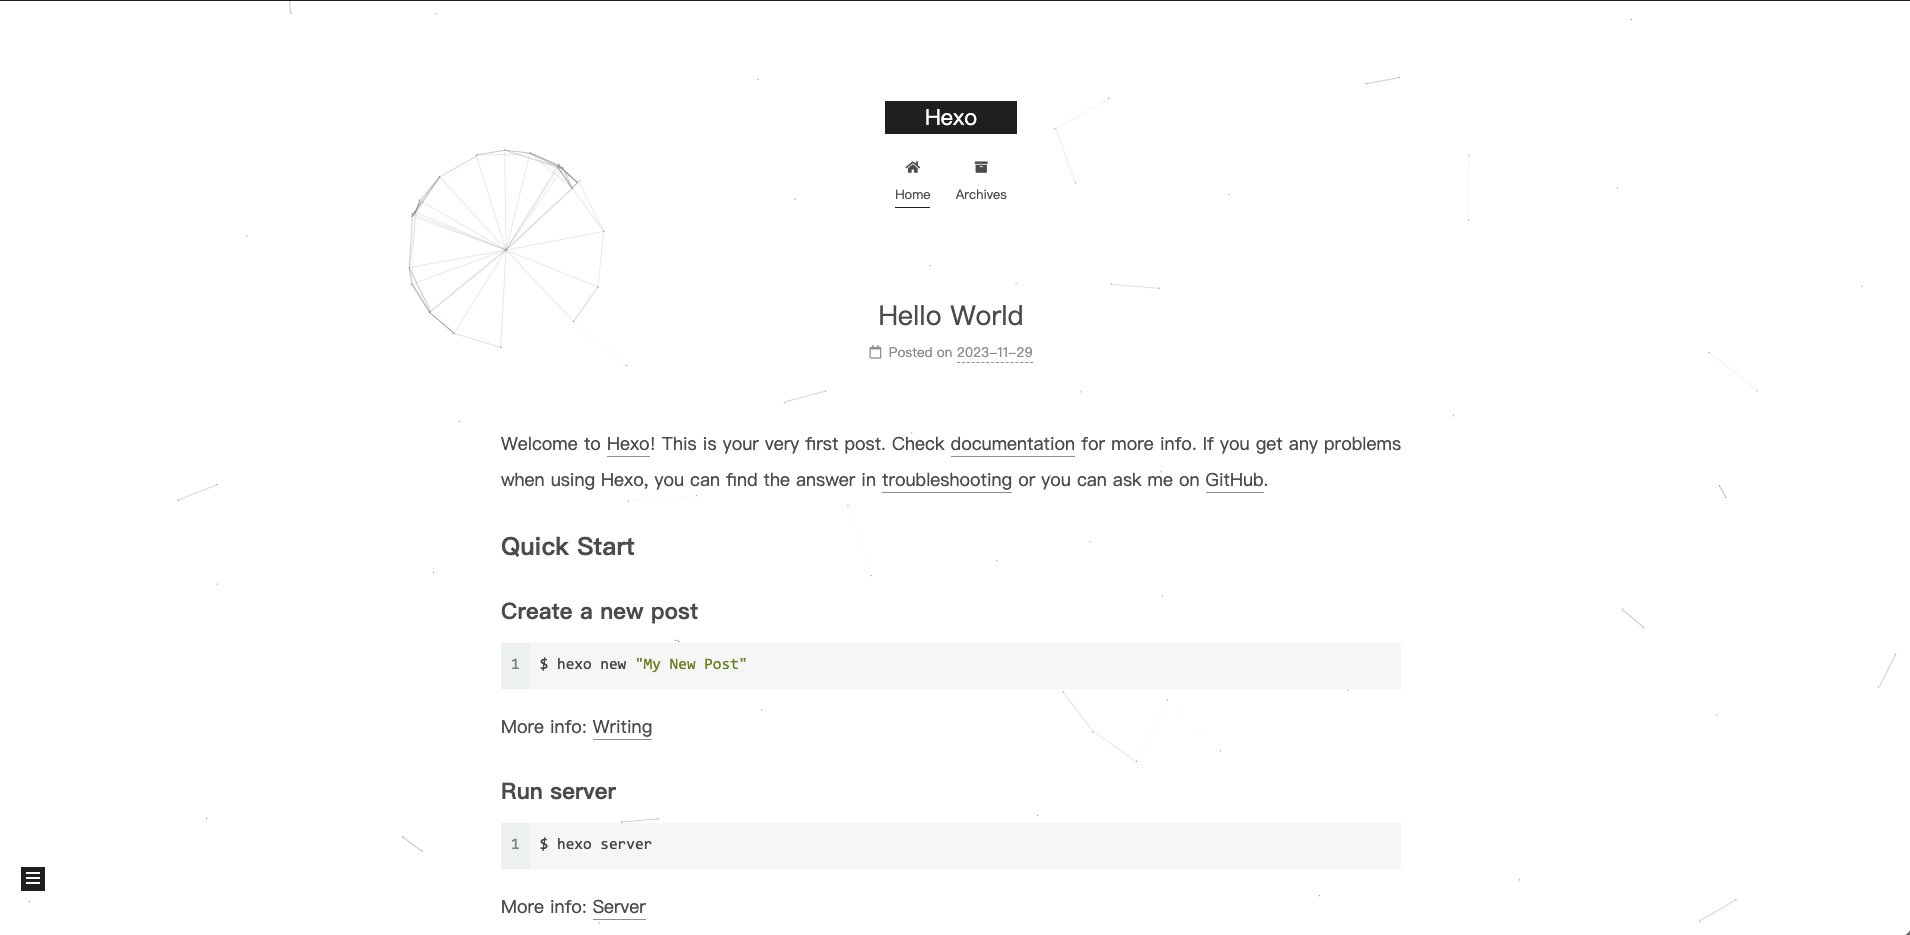
重启 hexo 服务后如下图
6. 插入图片
1
2
3
4
5
6
|
post_asset_folder: true
marked:
prependRoot: true
postAsset: true
|
按照以下方式使用图片
1
| 
|
如果有需要的话请安装 hexo-renderer-marked
1
| npm install hexo-renderer-marked --save
|
7. 图片点击放大预览
8. 图片懒加载
9. 设置404页面
1
2
3
4
5
|
404:
path: /404.html
per_page: false
|
然后在 404.html 中写入如下代码
10. 添加站点访问人数和总访问量
1
2
3
4
5
6
7
8
9
10
|
busuanzi_count:
enable: true
total_visitors: true
total_visitors_icon: fa fa-user
total_views: true
total_views_icon: fa fa-eye
post_views: true
post_views_icon: fa fa-eye
|
11. 添加字数统计及阅读时长
1
2
3
4
|
readingtime:
enable: true
|
12. 添加评论
1
2
3
4
5
|
comment:
enable: true
type: gitalk
|
13. 增加打赏功能
1
2
3
4
5
6
|
reward:
enable: true
wechat: image-20221130092900864.png
alipay: image-20221130092900864.png
|
将文件放在 themes/next/source/images 目录下
14. 修改永久链接的默认格式
安装 hexo-abbrlink
1
| npm install hexo-abbrlink --save
|
1
2
3
4
5
6
7
|
permalink: posts/:abbrlink.html
abbrlink:
alg: crc32
rep: hex
permalink_defaults: posts/:abbrlink.html
|